Azure DevOps provides basically two types of agents: Microsoft-Hosted agents and Self-Hosted agents.
Microsoft-Hosted agents
Microsoft-Hosted agents are completely managed by Microsoft in the cloud, can be based on Windows, Ubuntu or macOS. For each OS, a set of software in included in the VM image used to spin up a new VM when a new job need to be executed (more details here).
The main advantage in using Microsoft-Hosted agents is that most of the time provide everything you need to build and deploy your solution without the need to set up, configure and maintain the OS and software packages required.
The drawbacks are that you don’t have control on the CPU and memory provided with the VM and you cannot have access to internal networks (everything the agent access need to be exposed on Internet).
More details on capabilities and limitations of Microsoft-Hosted agents are here.
Self-Hosted agents
Self-Hosted agents are basically agents that runs wherever you need. You have to take care about everything: the installation, set up and updates of the OS, all software packages required by your pipelines to build and deploy your solutions, the network configurations to reach the code repository, the Azure resources and, if required, the VMs where you will deploy software components. The supported operative systems are Windows, Ubuntu and macOS.
Requirements
In the last project I have worked on, we had the need to deploy many Self-Hosted agents and, because the solution was based on .NET Framework 4.8, we had to use Windows based agents.
So, considering that we had to prepare 4 different environments (Development, Quality, Performance and Production), and we decided to install two agents for each environment, we started analyzing the possibility to prepare a Windows based Docker image for this purpose.
Prepare your Dockerfile
The first step to take is to prepare the Dockerfile needed to create the image.
|
|
As you can see, we use as base image a Windows Server Core image with .NET Framework 4.8 already installed. Then we download the Visual Studio Build Tools and run the installation in quiet mode (an unattended mode that doesn’t require user interaction). Is very important to analyze the Visual Studio Build Tools setup arguments. As you can see we use the –add parameter to define all the workloads we need to install. A workload is a set of features and applications installed, and you can find the list of workloads and the features included in each workload here.
Obviously you can adapt this part with the workloads you need. In our case we had to add a lot of workloads because of the dependencies required by our solution to build correctly.
After the installation, the Dockerfile copies a PowerShell script called start.ps1 in the azp folder and executes it. The script is the following:
|
|
The script logic can be summarized as follows:
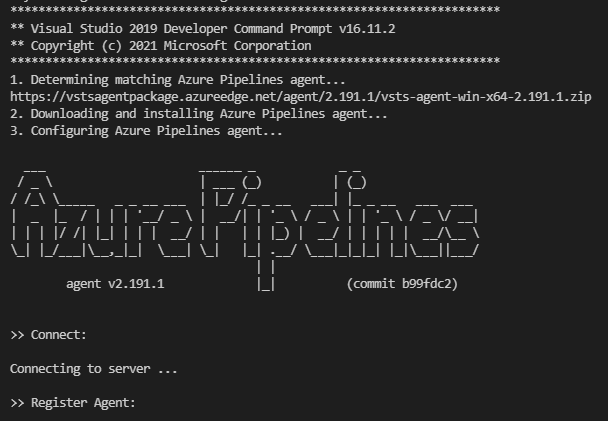
- Downloads and installs the latest version of the Agent for Windows x64 platform
- Configures the agent (this will register the agent on the Agent Pool you specify)
- Executes the agent
If an error occurs (finally block), the remove procedure is invoked in order to deregister the agent from the Agent Pool.
Taking a look at the script you can see that some environmental variables are used to configure the agent installation. The following variables need to be configured:
- AZP_URL: for example “https://dev.azure.com/yourorganization"
- AZP_TOKEN: a valid Personal Access Token (more details here)
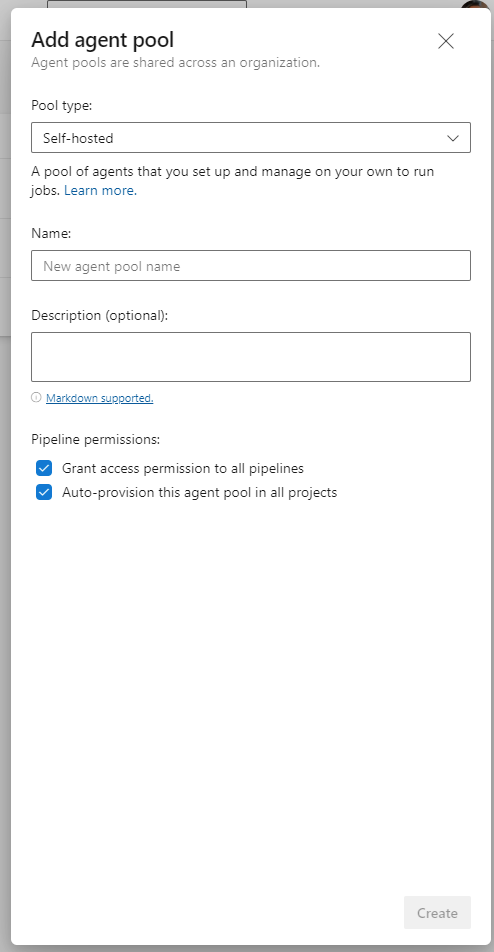
- AZP_POOL: the Azure DevOps Agent Pool name
- AZP_AGENT_NAME: the agent name
You can manage Azure Pools in Azure DevOps from Project Settings → Agent pools. Take a look here
Build Docker Image on Windows
In order to build the container image on Windows you need to
- Install Docker Desktop
- Switch to Windows Containers
Then you are ready to build the image with the following steps:
- Clone the repository
|
|
- Build the image
|
|
- Run the image
|
|

If everything goes well, in Azure DevOps, in the details of your Agent Pool, you will find the new dockerized running agent :)